Recording Studio Monitor Setup: A Complete Guide
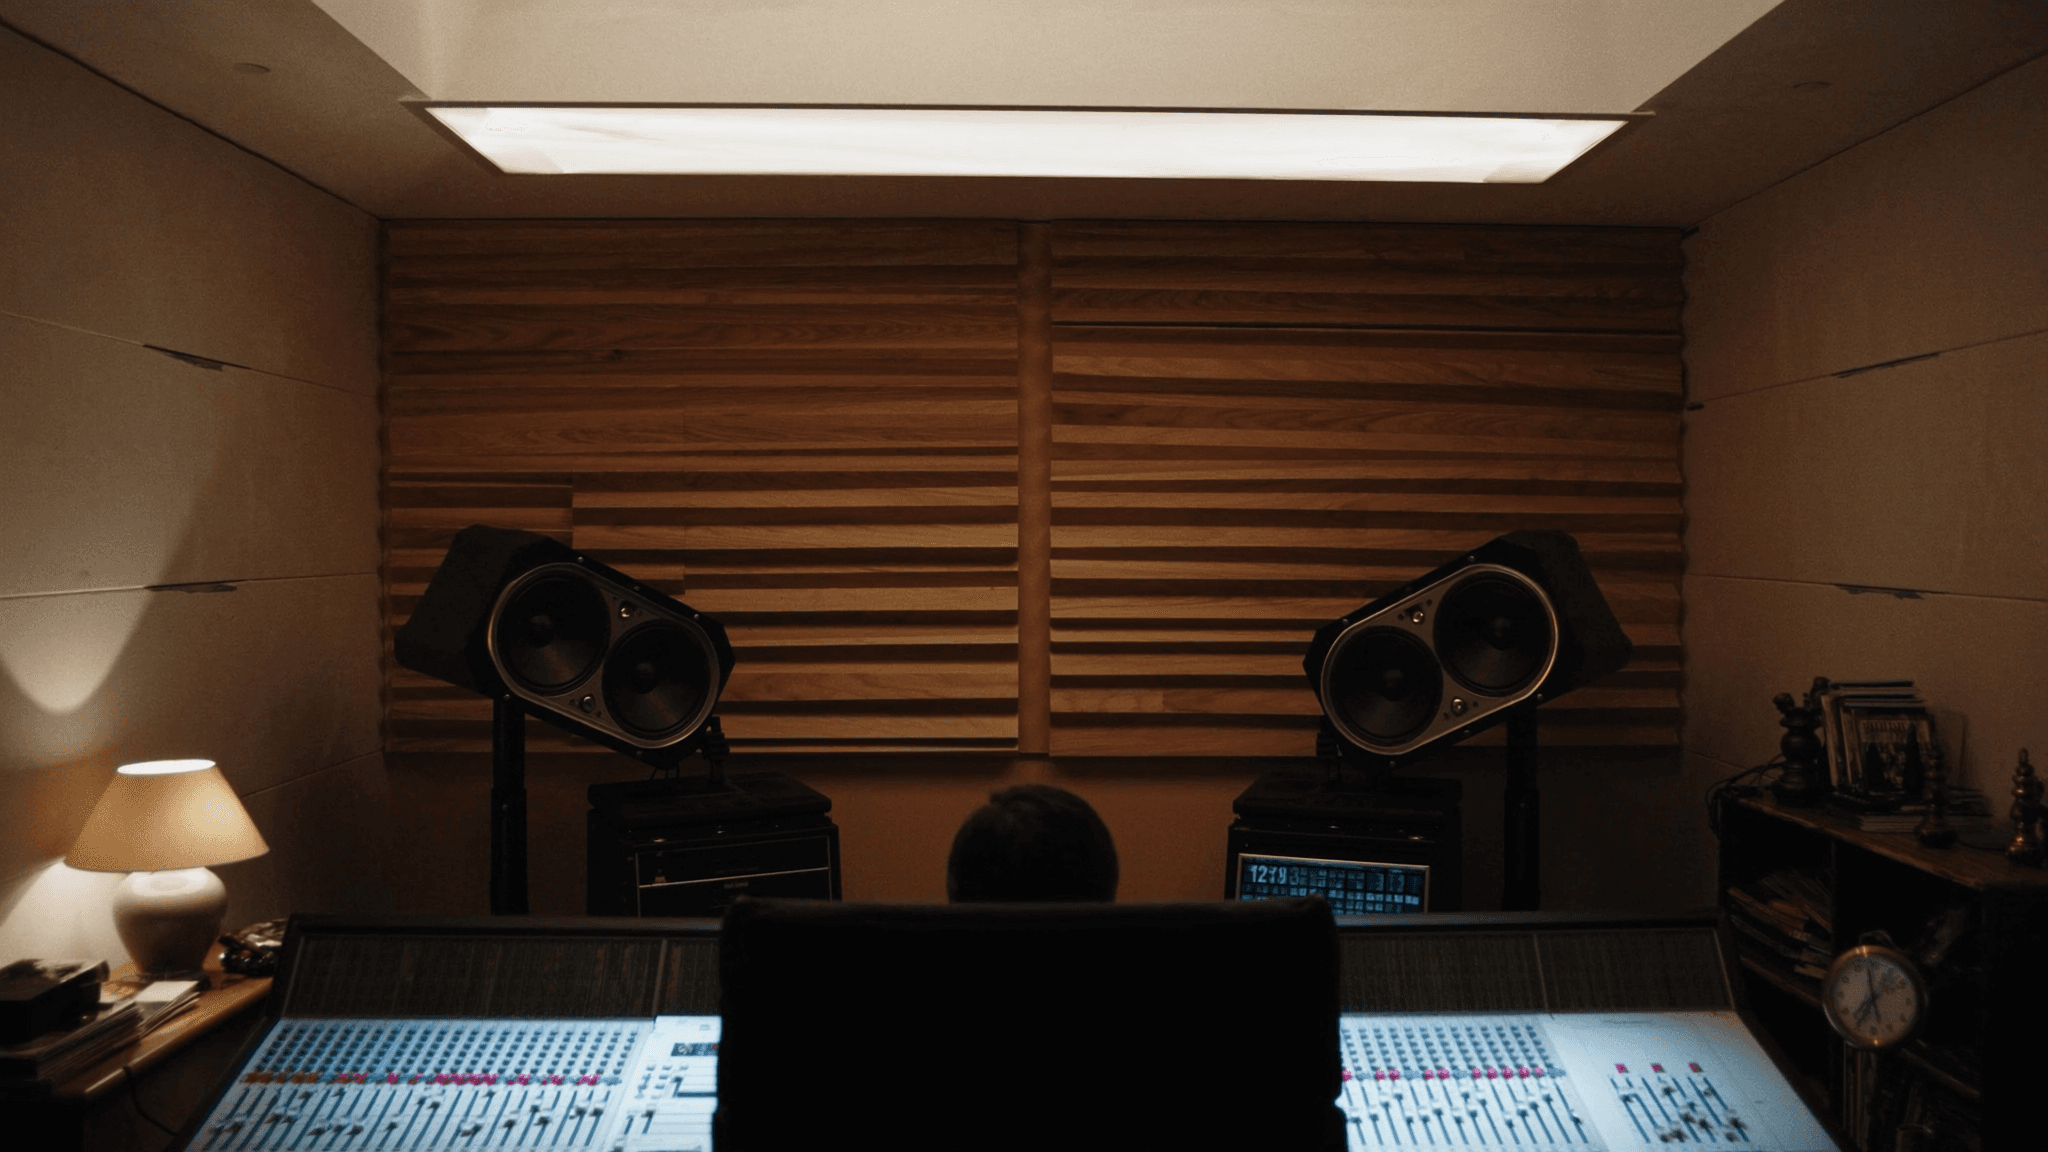
Setting up studio monitors correctly is the single most important step in achieving accurate mixes. This guide covers nearfield vs midfield choices, optimal placement, room treatment, bass management, and calibration — with practical advice for any budget.
Key takeaways
- Choose nearfield monitors for small rooms and midfield monitors for larger, treated spaces.
- Always set up monitors in an equilateral triangle with tweeters at ear height.
- Treat first reflection points and corners with absorption and bass traps.
- Integrate a subwoofer with proper crossover (80 Hz) and placement for full-range response.
- Calibrate using a measurement mic and EQ to achieve a flat listening curve.
- Avoid common placement errors: too close to walls, wrong listening height, or untreated rooms.
Nearfield vs Midfield Monitors: Choosing the Right Tool
Nearfield monitors are designed for close listening (1–2 meters), minimising room reflections and allowing you to hear direct sound. They are ideal for small-to-medium control rooms and home studios. Popular examples include the Yamaha HS series and KRK Rokit series, which offer balanced frequency response and reasonable accuracy for their price points.
Midfield monitors (or main monitors) are larger, higher-SPL systems placed 2–4 meters away. They deliver greater headroom, deeper bass extension, and a wider sweet spot, making them suitable for larger rooms and critical mixing/mastering. However, they require more room treatment and careful placement to avoid modal issues.
For most project studios, a quality pair of nearfields (e.g., Yamaha HS8 or KRK V8) is sufficient. If you have a treated room larger than 20m², consider adding midfield monitors like the SSOUNDS point-source systems, which combine high output with precise imaging for professional results.
The Equilateral Triangle: Foundation of Monitor Placement
The golden rule of monitor placement is the equilateral triangle: the distance between the two monitors should equal the distance from each monitor to your listening position. This ensures a balanced stereo image and accurate centre phantom.
Position the monitors so that the tweeters are at ear height when you are seated. For nearfields, this typically means placing them on stands behind the mixing console or on desk-mounted isolation pads. Avoid placing monitors directly on the console or desk surface, as reflections and vibrations will colour the sound.
Angle the monitors slightly inward (toe-in) so that they point directly at your ears. This optimises the sweet spot and reduces off-axis reflections. Use a laser pointer or string to verify alignment.
Room Treatment: Taming Reflections and Modes
Bass management is critical for accurate low-frequency reproduction. Many studio monitors have limited bass extension (e.g., Yamaha HS5 rolls off at 54 Hz). Adding a subwoofer can extend response down to 20–30 Hz, but integration is tricky.
Set the subwoofer crossover around 80 Hz (the standard THX recommendation) and use a high-pass filter on the monitors. Place the subwoofer in the listening position and crawl around the room to find the location with the smoothest bass response. Alternatively, use multiple subs to cancel modes.
Calibrate the subwoofer level using a sound level meter and pink noise. Aim for a flat response at the listening position. Systems like the SSOUNDS subwoofer range include DSP presets for seamless integration with nearfield monitors.
Calibration: Getting a Flat Response
Calibration ensures that what you hear is as neutral as possible. Use a measurement microphone (e.g., UMIK-1) and software like REW or Sonarworks. Measure the frequency response at the listening position and apply EQ corrections to compensate for room modes and monitor anomalies.
For passive monitors, EQ must be applied in the DAW or via an external processor. Active monitors often have built-in room EQ controls (e.g., Yamaha HS series has high-trim and room control switches). Use these sparingly; excessive EQ can mask problems.
Professional studios often use a monitor controller with calibration memory, allowing quick switching between multiple monitor sets. SSOUNDS DSP amplifiers include parametric EQ and delay for precise system tuning.
Common Mistakes and How to Avoid Them
Mistake 1: Placing monitors too close to walls. This causes bass boost (boundary effect). Keep at least 0.5 meters from walls. Mistake 2: Listening at too low or high volume. Mix at 85 dB SPL (C-weighted) for consistent translation. Mistake 3: Using monitors without room treatment. Even basic treatment improves clarity dramatically.
Mistake 4: Ignoring the listening position. The chair should be centred and at the correct height. Mistake 5: Relying solely on headphones. Headphones bypass room acoustics but lack the crossfeed and spatial cues of speakers. Always cross-reference on monitors.
Frequently asked
What is the ideal distance between studio monitors and the listening position?
For nearfield monitors, 1 to 2 meters is typical. The exact distance should create an equilateral triangle with the monitors and your head. For midfield monitors, 2 to 4 meters is common.
Do I need a subwoofer for studio monitors?
If your monitors have limited bass extension (e.g., below 50 Hz) or you work with bass-heavy genres, a subwoofer is recommended. It must be properly integrated with a crossover and calibration.
How do I know if my room treatment is sufficient?
Use a measurement microphone and software like REW. Look for a smooth frequency response with no large peaks or dips. The decay time (RT60) should be consistent across frequencies, typically 0.2–0.4 seconds for a control room.
Can I use consumer speakers as studio monitors?
Consumer speakers often have exaggerated bass or treble to sound pleasing. Studio monitors are designed for flat response. For accurate mixing, invest in proper monitors like Yamaha HS or KRK series.
Building or upgrading a system?
SSOUNDS engineers and manufactures professional PA worldwide — from a single room to stadium scale.