Skip to content

Recording Studio Monitor Setup: A Complete Guide

Recording Studio Monitor Setup: A Complete Guide

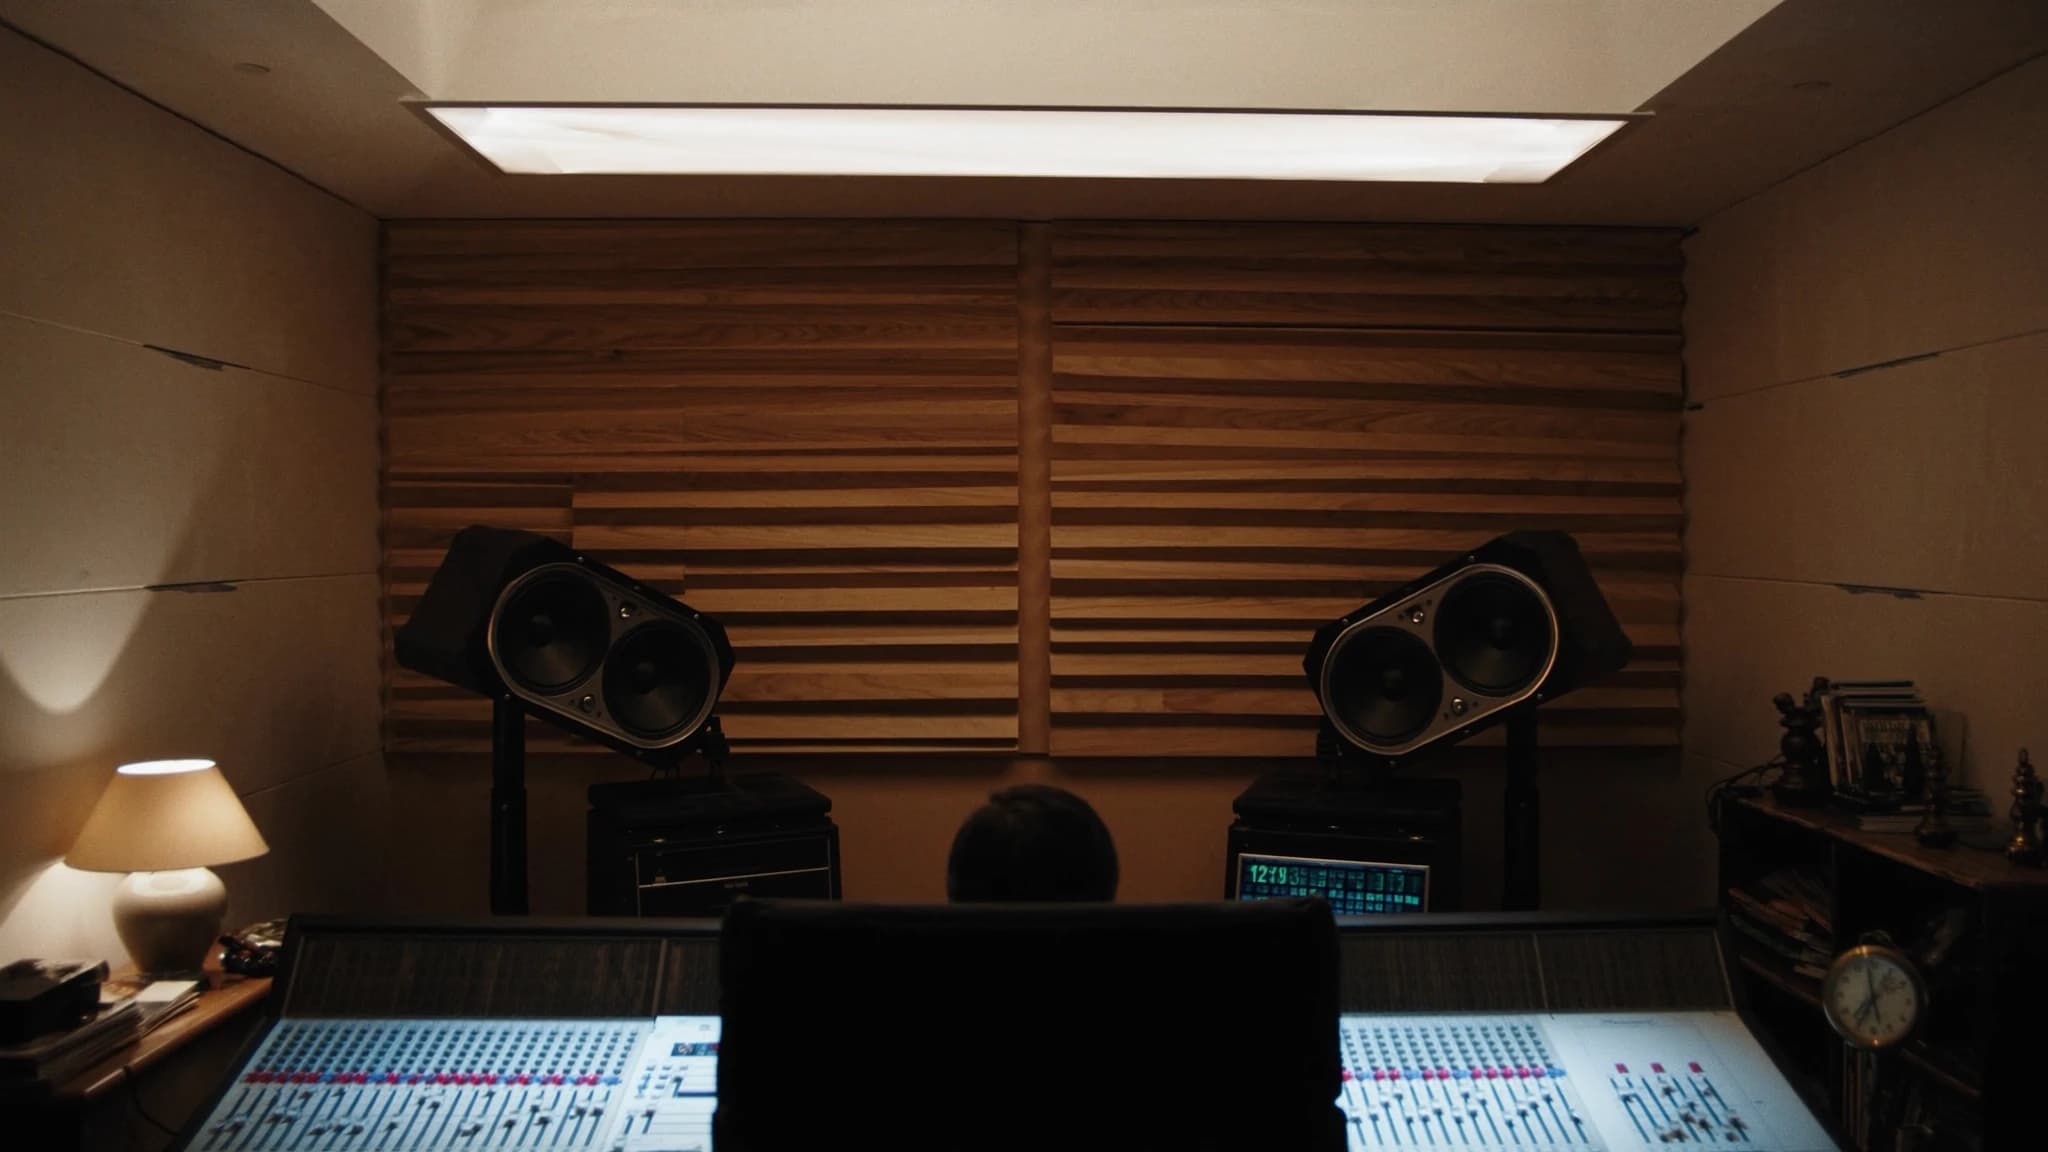
Setting up studio monitors correctly is the single most important step in achieving accurate mixes. This guide covers the differences between nearfield and midfield monitors, optimal placement using the equilateral triangle, the role of room treatment, bass management with subwoofers, and calibration techniques. While brands like Yamaha HS and KRK are popular choices, understanding the engineering principles behind monitor setup will help you get the most from any system.

Key takeaways

  • Nearfield monitors reduce room interaction and are ideal for small studios; midfield monitors require more treatment.
  • Always set up monitors in an equilateral triangle with tweeters aimed at your ears for accurate stereo imaging.
  • Room treatment (absorption, bass traps, diffusion) is essential before calibration—without it, no monitor can perform optimally.
  • Subwoofer placement and phase alignment are critical for seamless bass integration; use the subwoofer crawl method.
  • Calibrate each monitor to the same SPL level (e.g., 85 dB SPL) using pink noise and an SPL meter.
  • Use EQ sparingly to correct room modes, not to compensate for poor placement or lack of treatment.

Nearfield vs Midfield Monitors: What’s the Difference?

Nearfield monitors are designed to be placed close to the listener—typically 1 to 2 meters away—minimising the influence of the room’s acoustics. They are the standard for most project and professional studios because they allow you to hear direct sound from the drivers before reflections colour the signal. Midfield monitors, on the other hand, are positioned 2 to 4 meters away and are used in larger control rooms where the listening position is further back. They often have larger drivers and higher SPL capability, but require a more acoustically treated room to avoid comb filtering and modal issues.

Choosing between nearfield and midfield depends on your room size and workflow. For most home studios, nearfield monitors (like the Yamaha HS5 or HS7) are ideal because they reduce room interaction. Midfield monitors (such as the Yamaha HS8 or larger KRK models) can be used if your room is well-treated and you need higher output. SSOUNDS engineers recommend starting with nearfields and only moving to midfields when your room acoustics are under control.

The Equilateral Triangle: The Foundation of Stereo Imaging

The equilateral triangle is the gold standard for monitor placement. Your head and the two monitors should form an equilateral triangle, with the tweeters aimed directly at your ears. This ensures a balanced stereo image and accurate frequency response. The distance between the monitors should equal the distance from each monitor to your listening position. For nearfields, a typical distance is 1 to 1.5 meters.

To achieve this, measure the distance from your listening position to each monitor and ensure they are symmetrical. Angle the monitors inward so that the tweeters point just behind your head. This alignment minimises phase cancellation and ensures that the direct sound reaches your ears first. Avoid placing monitors too close to walls or corners, as this causes bass buildup and uneven frequency response. SSOUNDS recommends using a laser pointer or string to verify the triangle geometry.

Room Treatment: Taming Reflections and Modes

Even the best monitors will sound poor in an untreated room. Room treatment controls early reflections, flutter echoes, and standing waves that mask the true sound of your mix. The first step is to place broadband absorbers at the first reflection points on the side walls, ceiling, and rear wall. Bass traps in corners help manage low-frequency modes that cause uneven bass response. Diffusers can be used on the rear wall to scatter sound without deadening the room.

A common mistake is over-treating a room, making it too dead. The goal is to achieve a balanced decay time across frequencies. For small rooms, aim for a reverberation time (RT60) of 0.2 to 0.4 seconds. Use measurement tools like Room EQ Wizard (REW) to identify problem frequencies and verify the effectiveness of your treatment. SSOUNDS engineers emphasise that treatment is a prerequisite for accurate monitoring—without it, you cannot trust what you hear.

Subwoofers and Bass Management: Getting Low End Right

Adding a subwoofer extends your system’s low-frequency response, but it introduces placement challenges. Subwoofers are omnidirectional at low frequencies, meaning their position in the room greatly affects the bass you hear. The most common approach is to place the subwoofer between the two monitors, but this can cause cancellation if the sub is out of phase. A better method is to use the ‘subwoofer crawl’: place the sub at your listening position, play a bass-heavy track, and move around the room to find where the bass sounds fullest—that’s where the sub should go.

Bass management involves setting a crossover frequency (typically 80 Hz for THX standards) so that the sub handles frequencies below the crossover and the monitors handle above. Ensure the sub’s phase is aligned with the monitors—many subwoofers have a phase switch or variable control. Use a measurement microphone and REW to calibrate the sub’s level and delay so that it integrates seamlessly. SSOUNDS systems often include DSP presets that simplify this process, but for third-party monitors, manual calibration is essential.

Calibration: Setting Levels and EQ for Accuracy

Calibration ensures that your monitors reproduce sound at a consistent, reference level. The standard calibration level for film and broadcast is 85 dB SPL (C-weighted, slow) per channel, measured at the listening position. For music production, 79 to 83 dB SPL is common. Use an SPL meter or measurement mic to set each monitor’s level so they match within 0.5 dB. Pink noise is the standard test signal.

After level matching, apply EQ corrections only for known room issues—never to fix poor placement or lack of treatment. Use a graphic EQ or DSP to cut problematic frequencies (e.g., a room mode at 60 Hz) rather than boosting. SSOUNDS recommends using a measurement system like Sonarworks or Dirac Live for automated calibration, but manual EQ with REW gives you more control. Remember: calibration is a final step after placement and treatment are optimised.

Common Mistakes and How to Avoid Them

Many engineers place monitors on the same desk surface as their console, causing reflections and comb filtering. Use dedicated monitor stands or isolation pads to decouple the monitors from the desk. Another mistake is setting monitors too loud—this leads to ear fatigue and inaccurate mixing. Monitor at moderate levels (around 80 dB SPL) and take breaks. Finally, avoid relying solely on headphones; they lack the crossfeed and room interaction that monitors provide. Always cross-reference your mixes on multiple systems.

Frequently asked

What is the ideal distance for nearfield monitors?

Typically 1 to 1.5 meters from your listening position, forming an equilateral triangle with your head.

Do I need a subwoofer for music production?

Not necessarily—many nearfield monitors have adequate bass response. A subwoofer helps if you produce bass-heavy genres or need to feel low frequencies, but it requires careful placement and calibration.

Can I use room EQ instead of room treatment?

Room EQ can correct frequency response but cannot fix time-domain issues like reflections and decay. Always treat the room first, then apply minimal EQ.

How often should I recalibrate my monitors?

Recalibrate whenever you move your monitors, change your listening position, or add new acoustic treatment. Otherwise, a yearly check is sufficient.

What SPL level should I mix at?

Aim for 79 to 83 dB SPL (C-weighted) for music production, and 85 dB SPL for film/broadcast. Use a reference level to avoid ear fatigue.

Building or upgrading a system?

SSOUNDS engineers and manufactures professional PA worldwide — from a single room to stadium scale.

Talk to an engineer
Chat on WhatsApp