Hoe je feedback in live sound stopt
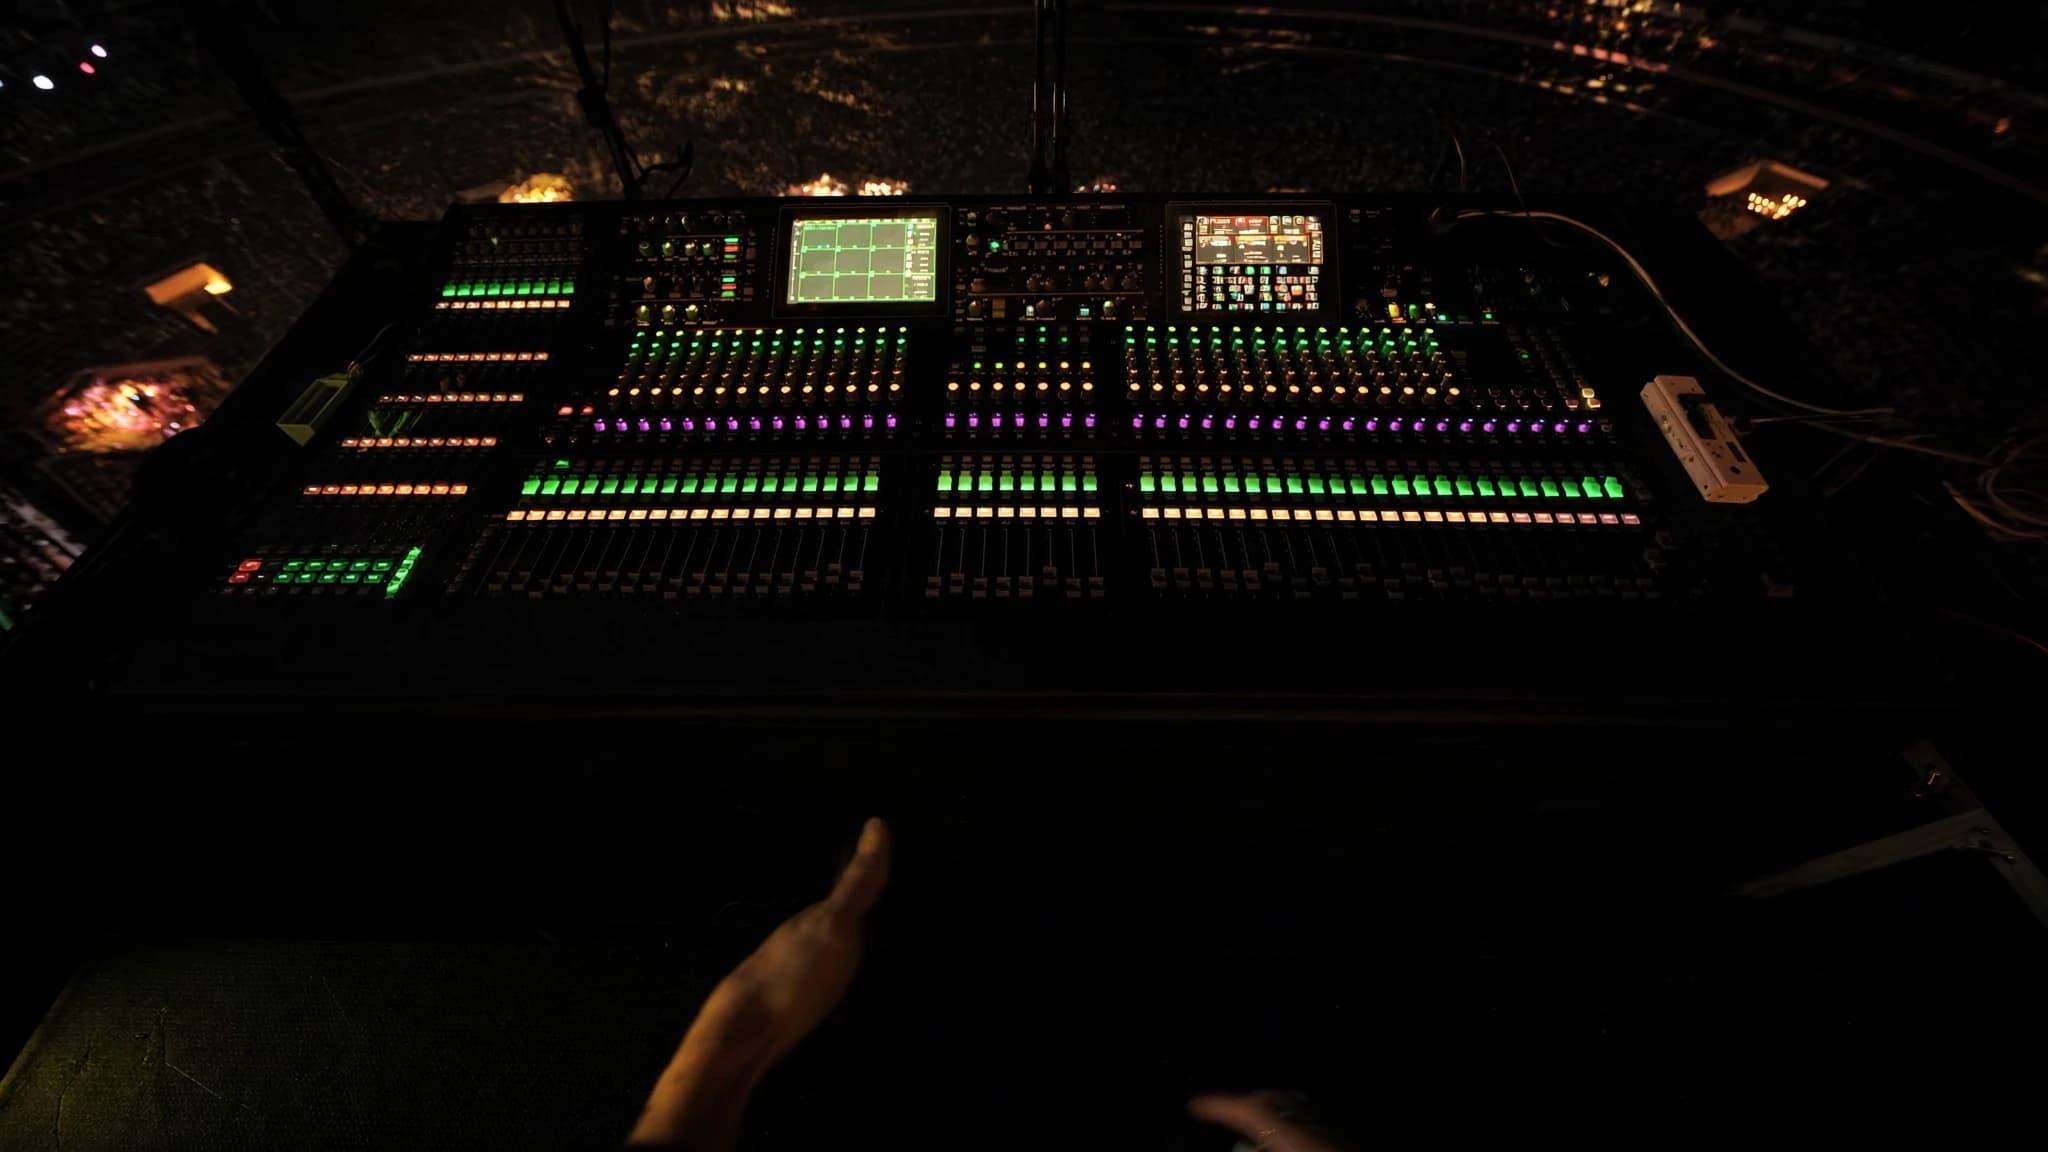
Feedback is de vijand van elke live sound engineer, van kleine clubs tot enorme festivals. Het kan een optreden verpesten, apparatuur beschadigen en zowel artiest als publiek frustreren. In deze gids leggen we de oorzaken van feedback uit en bieden we praktische, in de praktijk geteste oplossingen om het te elimineren, op basis van decennia aan ervaring van SSOUNDS-engineers.
Belangrijkste punten
- Feedback is een loop die kan worden doorbroken door gain, EQ, microfoonplaatsing en luidsprekerpositionering te beheren.
- Een correcte gainstructuur zorgt voor headroom en vermindert de kans op feedback.
- Het cutten van specifieke frequenties met een parametrische EQ kan de gain vóór feedback verhogen.
- Directionele microfoons en zorgvuldige plaatsing weg van luidsprekers zijn essentieel.
- In-ear monitors en cardioïde subwoofers kunnen het feedbackrisico aanzienlijk verminderen.
- SSOUNDS-systemen en DSP-presets zijn ontworpen om de gain vóór feedback te maximaliseren.
De feedbackloop begrijpen
Feedback ontstaat wanneer een microfoon geluid van een luidspreker opvangt, dit versterkt en het terugstuurt door de luidspreker, waardoor een loop ontstaat die steeds luider wordt tot het een huil of piep wordt. Deze loop is een klassiek voorbeeld van een positief feedbacksysteem, waarbij de output de input versterkt. De frequentie waarop dit gebeurt, hangt af van de afstand tussen microfoon en luidspreker, de akoestiek van de ruimte en de gainstructuur van het systeem.
Om feedback te stoppen, moet je de loop doorbreken. Dit kan door de gain vóór feedback te verlagen, de frequentierespons te wijzigen, de fysieke relatie tussen microfoon en luidspreker te veranderen, of een combinatie hiervan. Het begrijpen van de oorzaak is de eerste stap naar een oplossing.
Gainstructuur: de basis van feedbackbeheersing
Een correcte gainstructuur is cruciaal. Als de gain op enig punt in de signaalketen te hoog is, wordt het systeem gevoeliger voor feedback. Begin met het instellen van de gain op het mengpaneel zodat het signaal sterk is maar niet clipt. Gebruik de kanaalfader en masterfader om het totale niveau te regelen, niet de gainknop. Dit zorgt voor headroom en stelt je in staat het systeem terug te draaien als feedback begint.
In monitorsystemen is de gainstructuur nog kritischer. Elke monitormix moet zo worden ingesteld dat de artiest duidelijk kan horen zonder het systeem in feedback te drijven. Gebruik de monitor-sendniveaus om de mix in balans te brengen en vermijd het boosten van frequenties die gevoelig zijn voor feedback. SSOUNDS-engineers gebruiken vaak digitale consoles met nauwkeurige gainregeling en oproepbare instellingen om een consistente gainstructuur over meerdere shows te handhaven.
EQ en feedback: de juiste frequenties cutten
Equalisatie is een krachtig hulpmiddel voor feedbackonderdrukking. Feedback treedt meestal op bij specifieke frequenties, vaak gerelateerd aan ruimteresonanties of microfoonpieken. Door deze frequenties te identificeren en te cutten met een parametrische EQ, kun je de gain vóór feedback verhogen. Gebruik een real-time analyzer (RTA) of een feedbackonderdrukker om de storende frequenties te identificeren. Smalle cuts (hoge Q) zijn effectiever dan brede cuts omdat ze minder van het nuttige signaal beïnvloeden.
EQ mag echter geen vervanging zijn voor een correcte gainstructuur en microfoonplaatsing. Overmatig EQ'en kan de geluidskwaliteit verslechteren. SSOUNDS raadt aan EQ te gebruiken als corrigerende maatregel nadat andere factoren zijn geoptimaliseerd. Onze DSP-presets bevatten feedbackbestrijdende filters die zijn afgestemd op onze luidsprekers, waardoor engineers maximale gain vóór feedback kunnen bereiken zonder in te leveren op audiofideliteit.
Microfoontechniek en -plaatsing
De microfoon is de eerste schakel in de feedbackketen. Het type, het polaire patroon en de plaatsing spelen een enorme rol. Directionele microfoons (cardioïde, supercardioïde) onderdrukken geluid van achteren, waardoor de kans kleiner is dat ze monitor- of hoofdspeakers oppikken. Plaats microfoons dicht bij de bron en richt ze weg van luidsprekers. Voor vocalisten is een cardioïde dynamische microfoon dicht bij de mond ideaal.
Vermijd het plaatsen van microfoons direct voor luidsprekers of in het directe pad van geluid. Positioneer monitors indien mogelijk aan de zijkanten of achter de artiest, niet direct ervoor. Gebruik microfoonstands en clips om een consistente plaatsing te handhaven. SSOUNDS line array-systemen zijn ontworpen met een gecontroleerde richtingskarakteristiek, wat helpt het geluid op het publiek en weg van het podium te houden, waardoor het feedbackpotentieel afneemt.
Monitorplaatsing en luidsprekerpositionering
Monitors zijn vaak de hoofdschuldige bij feedback. Ze staan dicht bij de microfoons en zijn op de artiesten gericht. Om feedback te minimaliseren, plaats je monitors zo dat hun output weg van de microfoons is gericht. Plaats wedge-monitors bijvoorbeeld aan de voorkant van het podium, schuin omhoog gericht naar de artiest, maar niet direct op de microfoon. Als je sidefills gebruikt, positioneer ze dan zo dat hun geluid de microfoons niet direct raakt.
In-ear monitors (IEM's) zijn een uitstekende oplossing omdat ze de noodzaak van podiummonitors volledig wegnemen, wat het feedbackrisico drastisch vermindert. Als wedges echter nodig zijn, gebruik dan cardioïde subwoofers en directionele hoofdspeakers om laagfrequente energie weg van het podium te houden. SSOUNDS-subwoofers met cardioïde configuraties kunnen hierbij helpen door energie naar achteren te cancellen.
Geavanceerde technieken en systeemontwerp
Voor uitdagende omgevingen kunnen geavanceerde technieken zoals automatische feedbackonderdrukkers en notch-filters worden gebruikt. Deze apparaten detecteren feedbackfrequenties en passen automatisch smalle cuts toe. Ze moeten echter spaarzaam worden gebruikt en in combinatie met een goed systeemontwerp. Een andere aanpak is een ring-out-procedure: verhoog de gain langzaam tot feedback begint en notch dan de storende frequenties uit. Herhaal dit tot je de gewenste gain vóór feedback bereikt.
Systeemontwerp is ook belangrijk. Het gebruik van een gedistribueerd luidsprekersysteem in plaats van een enkele puntbron kan het benodigde niveau bij elke afzonderlijke luidspreker verlagen, wat het feedbackrisico vermindert. SSOUNDS-engineers gebruiken AI-ondersteunde akoestische modellering om feedbackgevoelige frequenties te voorspellen en de luidsprekerplaatsing en EQ te optimaliseren nog voordat het systeem wordt geïnstalleerd. Deze proactieve aanpak bespaart tijd en zorgt voor betrouwbare prestaties.
Veelgestelde vragen
Wat moet ik als eerste doen wanneer feedback optreedt?
Verlaag onmiddellijk de masterfader of de fader van het betreffende kanaal om de feedback te stoppen. Identificeer vervolgens de frequentie en pas een smalle EQ-cut toe. Controleer de gainstructuur en de microfoonplaatsing voordat je de niveaus weer opvoert.
Kan feedback mijn apparatuur beschadigen?
Ja, aanhoudende feedback kan luidsprekers beschadigen, vooral tweeters en compressiedrivers, door overmatige hoogfrequente energie. Het kan ook het gehoor beschadigen. Pak feedback altijd direct aan.
Zijn automatische feedbackonderdrukkers effectief?
Ze kunnen effectief zijn als vangnet, maar ze zijn geen vervanging voor een correcte systeemopstelling. Overmatig vertrouwen kan leiden tot slechte geluidskwaliteit. Gebruik ze in combinatie met een goede gainstructuur en EQ.
Hoe helpt SSOUNDS feedback voorkomen?
SSOUNDS-luidsprekers hebben een gecontroleerde richtingskarakteristiek en worden geleverd met DSP-presets die feedbackbestrijdende filters bevatten. Ons engineeringteam gebruikt geavanceerde modellering om systemen te ontwerpen die het risico op feedback vanaf het begin minimaliseren.
Een systeem bouwen of upgraden?
SSOUNDS ontwerpt en produceert professionele PA wereldwijd, van een enkele ruimte tot stadionformaat.