Deckenlautsprecher-Platzierung: Der komplette Leitfaden
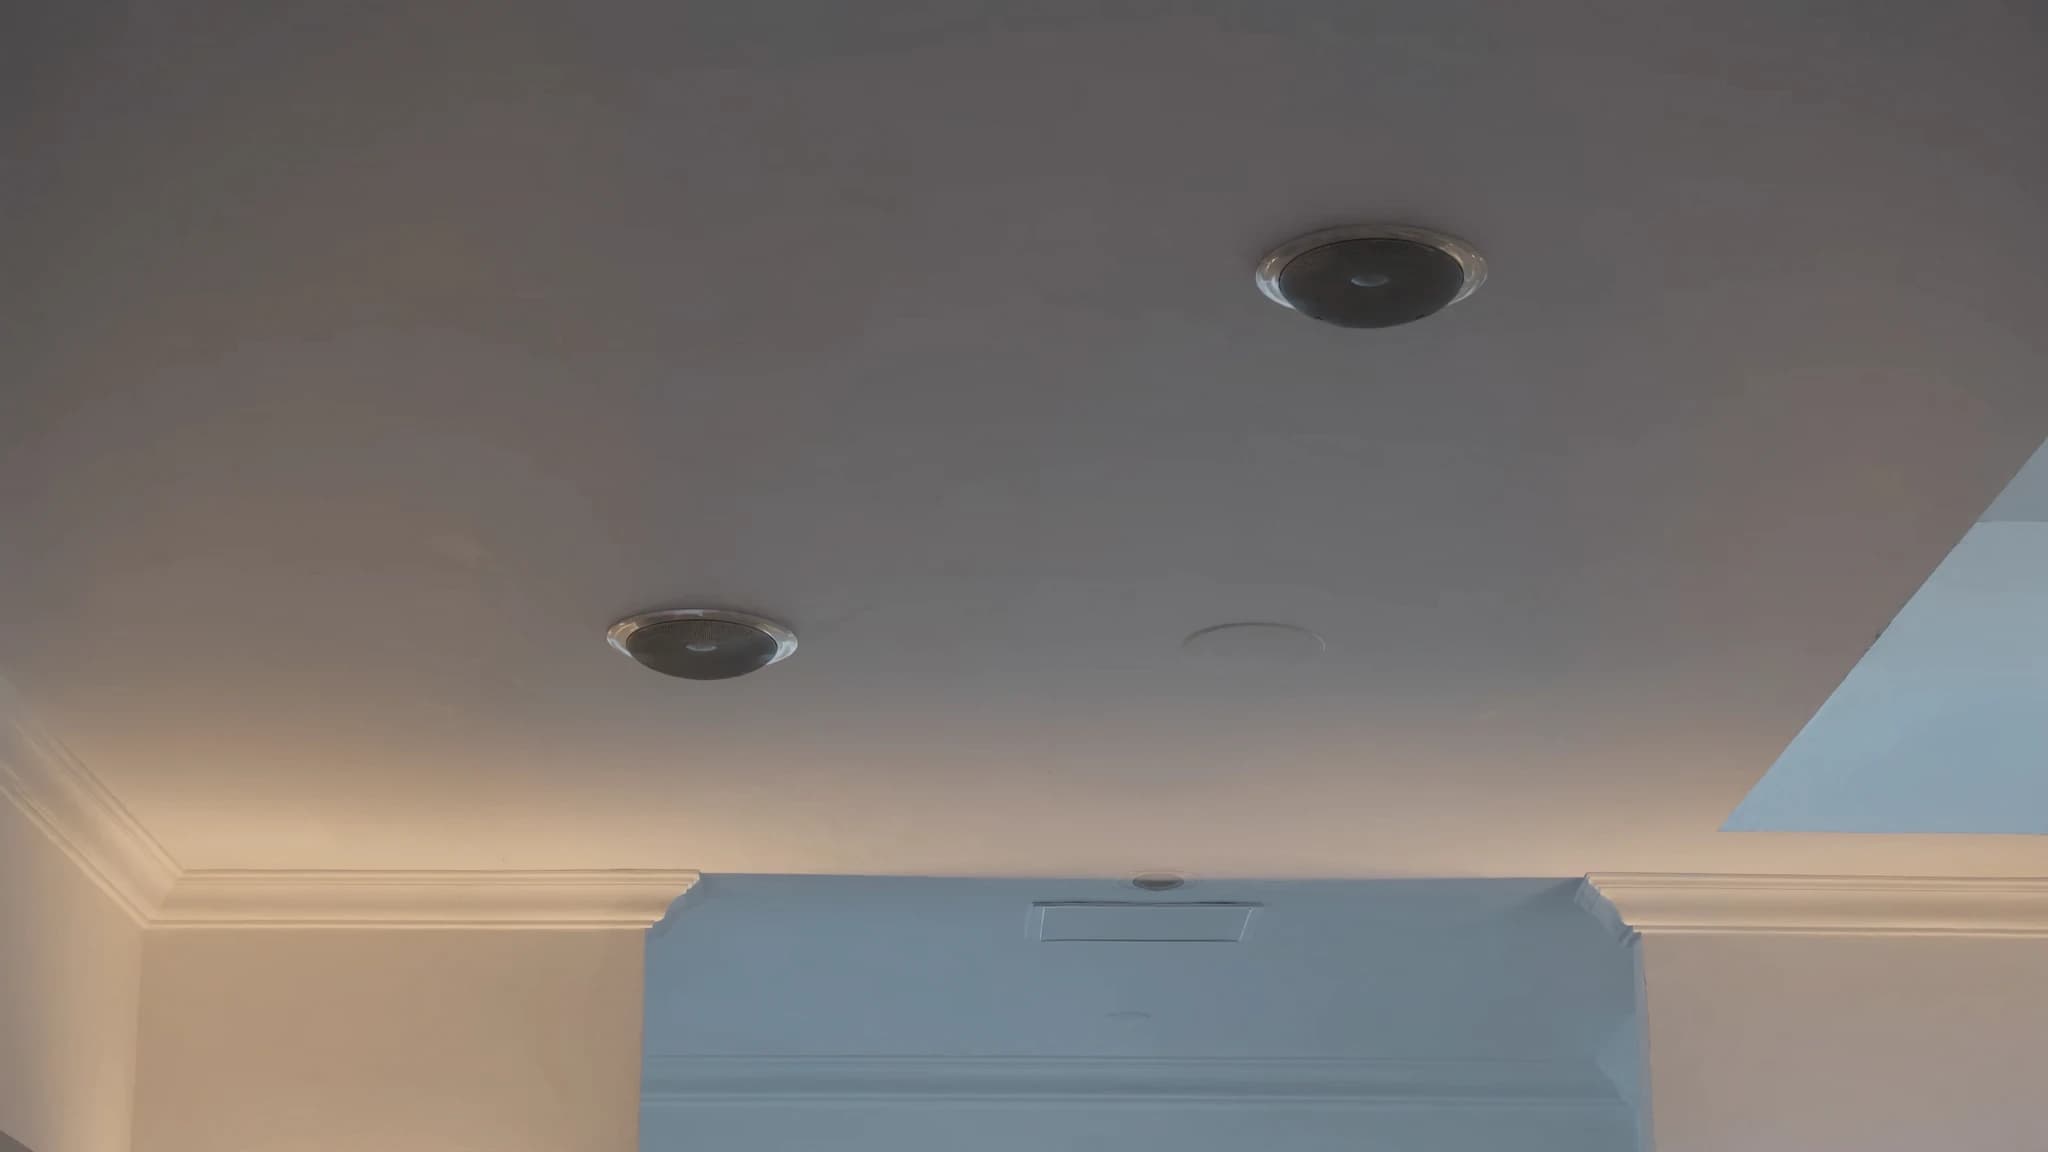
Die richtige Platzierung von Deckenlautsprechern ist der Unterschied zwischen klarer, gleichmäßiger Abdeckung und frustrierenden Totzonen oder harten Hotspots. Dieser Leitfaden behandelt die wesentlichen Abstandsregeln, Überlegungen zur Hörhöhe, die Abdeckungsmathematik für 70/100 V, Überlappungsstrategien, Randabstände und praktische Tipps zur Vermeidung häufiger Fallstricke, damit Ihre Installation jedes Mal professionellen Klang liefert.
Wichtigste Punkte
- Abdeckungsdurchmesser in Ohrhöhe = 2 × (Montagehöhe – Hörhöhe) × tan(Abstrahlwinkel/2).
- Platzieren Sie Lautsprecher mit dem 1- bis 1,5-fachen des Abdeckungsdurchmessers für gleichmäßigen Klang; engere Abstände reduzieren die Pegelvariation.
- In 70-V/100-V-Systemen summieren Sie die Lautsprecher-Taps, um unter der Verstärkerleistung zu bleiben; verwenden Sie Schalldruckpegelberechnungen, um geeignete Tap-Einstellungen zu wählen.
- Randabstand = die Hälfte des Abstands zwischen Lautsprechern; vermeiden Sie Hotspots, indem Sie nicht weniger als den halben Abdeckungsdurchmesser Abstand halten.
- Testen Sie immer mit einem Schallpegelmesser und rosa Rauschen nach der Installation; passen Sie Taps oder Positionen nach Bedarf an.
- Für große Räume verwenden Sie DSP-Delays, um Ankunftszeiten auszurichten und Echo zu verhindern.
Abstrahlmuster und Hörhöhe verstehen
Deckenlautsprecher strahlen Schall in einem kegelartigen Muster ab, typischerweise mit einem nominellen Abstrahlwinkel von 90° bis 120° (oft 100° bei vielen Modellen). Die Abdeckungsfläche in Ohrhöhe hängt von der Höhe des Lautsprechers über der Hörebene ab. Zum Beispiel deckt ein Lautsprecher, der 8 ft über dem Boden mit einem 100°-Kegel montiert ist, in Ohrhöhe einen Kreis von etwa 19 ft Durchmesser ab (unter der Annahme einer Hörhöhe von 5 ft). Die Formel ist einfach: Abdeckungsdurchmesser = 2 × (Montagehöhe – Hörhöhe) × tan(Abstrahlwinkel/2).
Bestimmen Sie immer die primäre Hörhöhe, normalerweise 4–6 ft für sitzendes Publikum, 5–6 ft für stehendes. Subtrahieren Sie diese von der Deckenhöhe, um die effektive Wurfweite zu erhalten. Diese Distanz treibt direkt die Abstandsberechnungen an. In gewerblichen Räumen mit hohen Decken (z. B. 20 ft) wird die Abdeckung pro Lautsprecher viel größer, aber Sie müssen auch den erhöhten Schalldruckpegelverlust über die Distanz berücksichtigen.
Abstandsregeln: Überlappung und Gleichmäßigkeit
Die goldene Regel für den Abstand von Deckenlautsprechern ist es, eine 50–100%ige Überlappung der Abdeckungsmuster in Ohrhöhe zu erreichen. Für eine gleichmäßige Abdeckung platzieren Sie Lautsprecher so, dass sich die -6-dB-Punkte benachbarter Kegel in der Hörebene schneiden. Ein üblicher Ausgangspunkt ist ein Abstand, der dem Abdeckungsdurchmesser in Ohrhöhe entspricht. Wenn beispielsweise jeder Lautsprecher einen 12-ft-Kreis abdeckt, platzieren Sie sie 12 ft voneinander entfernt (Mitte zu Mitte). Dies ergibt eine Variation von etwa 3–6 dB über die Fläche.
Engere Abstände (z. B. 8–10 ft für einen 12-ft-Abdeckungskreis) reduzieren die Pegelvariation auf unter 3 dB, erhöhen aber die Kosten. Weitere Abstände (z. B. 14 ft) können merkliche Einbrüche verursachen. Für Durchsagen und Hintergrundmusik ist eine Variation von 6–10 dB akzeptabel; für Vordergrundmusik oder kritische Sprache streben Sie 3 dB oder weniger an. Modellieren Sie Ihr Layout immer mit Vorhersagesoftware oder manuellen Berechnungen.
70-V/100-V-Systeme: Tapping- und Leistungsberechnungen
In verteilten Audiosystemen sind 70-V- (USA) oder 100-V- (international) Konstantspannungsleitungen Standard. Jeder Lautsprecher hat einen Transformator-Tap (z. B. 1 W, 2 W, 4 W, 8 W, 16 W), der seinen Stromverbrauch und Schalldruckpegel bestimmt. Die Gesamtlast am Verstärker darf seine Nennleistung nicht überschreiten. Zum Beispiel: 10 Lautsprecher mit je 8 W getappt = 80 W gesamt, also verwenden Sie einen 100-W- oder größeren Verstärker.
Abdeckungsmathematik: Der Schalldruckpegel in Hörhöhe hängt von der Lautsprecherempfindlichkeit (z. B. 88 dB 1 W/1 m) und dem Leistungs-Tap ab. Eine Verdopplung der Leistung fügt 3 dB hinzu. Bei 8 W liefert ein Lautsprecher mit 88 dB Empfindlichkeit etwa 97 dB bei 1 m. Bei 12 ft (3,7 m) Entfernung reduziert das Abstandsgesetz den Schalldruckpegel um ~11 dB, was ~86 dB in Ohrhöhe ergibt. Passen Sie die Taps an den erforderlichen Schalldruckpegel an. Für Sprache sind 80–85 dB typisch; für Musik 85–95 dB.
Randabstand und Vermeidung von Hotspots
Der Randabstand, die Entfernung vom nächsten Lautsprecher zur Wand, sollte die Hälfte des Abstands zwischen den Lautsprechern betragen. Wenn der Abstand 12 ft beträgt, platzieren Sie Lautsprecher 6 ft von Wänden entfernt. Dies stellt sicher, dass sich das Abdeckungsmuster bis zur Wand erstreckt, ohne übermäßige Überlappung in der Mitte. Bei Ecken halten Sie den gleichen halben Abstand von beiden Wänden ein.
Hotspots entstehen, wenn Lautsprecher im Verhältnis zur Hörhöhe zu nahe beieinander liegen, was zu konstruktiver Interferenz und übermäßigem Schalldruckpegel in bestimmten Bereichen führt. Um Hotspots zu vermeiden, platzieren Sie Lautsprecher niemals näher als den halben Abdeckungsdurchmesser in Ohrhöhe. Vermeiden Sie es auch, Lautsprecher direkt über Sitzen in kritischen Hörzonen zu platzieren; versetzen Sie sie leicht, um die Intensität direkt auf der Achse zu reduzieren.
Praktische Installationstipps
Erstellen Sie vor dem Bohren einen maßstabsgetreuen Grundriss und markieren Sie die Lautsprecherpositionen unter Verwendung der Abstandsregeln. Verwenden Sie einen Laser-Entfernungsmesser für Genauigkeit. Bei abgehängten Decken stellen Sie sicher, dass Lautsprecher sicher am Raster oder an der Struktur montiert sind; verlassen Sie sich niemals nur auf Deckenplatten. Verlegen Sie die Verkabelung in plenumgeeigneten Kabeln, wo erforderlich.
Testen Sie nach der Installation die Abdeckung mit einem Schallpegelmesser an mehreren Hörpositionen. Gehen Sie den Raum ab, während Sie rosa Rauschen abspielen; achten Sie auf Totzonen oder übermäßig laute Bereiche. Passen Sie Taps an oder repositionieren Sie Lautsprecher, falls nötig. Für große Veranstaltungsorte ziehen Sie die Verwendung eines DSP mit Delay und EQ in Betracht, um die Abdeckung fein abzustimmen.
Erweiterte Überlegungen: Mehrere Zonen und Delays
In großen offenen Räumen benötigen Sie möglicherweise mehrere Zonen mit separaten Verstärkern und Delay-Verarbeitung. Schall breitet sich mit ~1 ft/ms aus; wenn Lautsprecher mehr als 50 ft voneinander entfernt sind, können Hörer ein Echo wahrnehmen. Verwenden Sie einen DSP, um die näheren Lautsprecher zu verzögern, damit der Schall von allen Quellen gleichzeitig ankommt. Dies ist kritisch in Gotteshäusern, Konferenzzentren und großen Einzelhandelsflächen.
Berücksichtigen Sie auch das Deckenmaterial und die Raumakustik. Harte Oberflächen (Glas, Beton) verursachen Reflexionen, die die Abdeckung trüben können. Weiche Oberflächen (Akustikplatten, Teppich) absorbieren hohe Frequenzen, was möglicherweise höhere Tap-Einstellungen oder engere Abstände erfordert. Berücksichtigen Sie immer Umgebungsgeräusche (HLK, Publikum) bei der Festlegung von Schalldruckpegelzielen.
Häufige Fragen
Was ist der ideale Abstand für Deckenlautsprecher in einem typischen Büro?
Bei einer Deckenhöhe von 8 ft und einer Hörhöhe von 5 ft deckt ein Lautsprecher mit 100° Abstrahlwinkel etwa 10 ft Durchmesser ab. Platzieren Sie sie für gleichmäßige Abdeckung 10–12 ft voneinander entfernt. Passen Sie dies je nach Umgebungsgeräusch und erforderlichem Schalldruckpegel an.
Wie berechne ich die Gesamtleistungslast an einem 70-V-Verstärker?
Addieren Sie die Tap-Einstellungen aller Lautsprecher auf der Leitung. Zum Beispiel: 12 Lautsprecher mit je 8 W = 96 W. Verwenden Sie einen Verstärker, der für mindestens das 1,25-Fache der Gesamtlast ausgelegt ist (z. B. 120 W), um Reserve zu haben.
Was ist der Mindestabstand eines Deckenlautsprechers von einer Wand?
Platzieren Sie Lautsprecher in der halben Abstandsdistanz von Wänden. Wenn der Abstand 12 ft beträgt, installieren Sie Lautsprecher 6 ft von der nächsten Wand entfernt, um sicherzustellen, dass die Abdeckung bis zum Rand reicht.
Wie vermeide ich Hotspots in einem Deckenlautsprechersystem?
Vermeiden Sie es, Lautsprecher näher als den halben Abdeckungsdurchmesser in Ohrhöhe zu platzieren. Versetzen Sie Lautsprecher außerdem von direkt über Kopf befindlichen Positionen in kritischen Hörbereichen.
Kann ich verschiedene Tap-Einstellungen auf derselben 70-V-Leitung mischen?
Ja, solange die Gesamtlast die Nennleistung des Verstärkers nicht überschreitet. Unterschiedliche Taps ermöglichen es Ihnen, den Schalldruckpegel pro Zone anzupassen, aber stellen Sie eine konsistente Abdeckung sicher.
System aufbauen oder aufrüsten?
SSOUNDS entwickelt und fertigt professionelle PA weltweit, vom einzelnen Raum bis zur Stadiongröße.