Dolby Atmos ホームシアター構築:完全ガイド
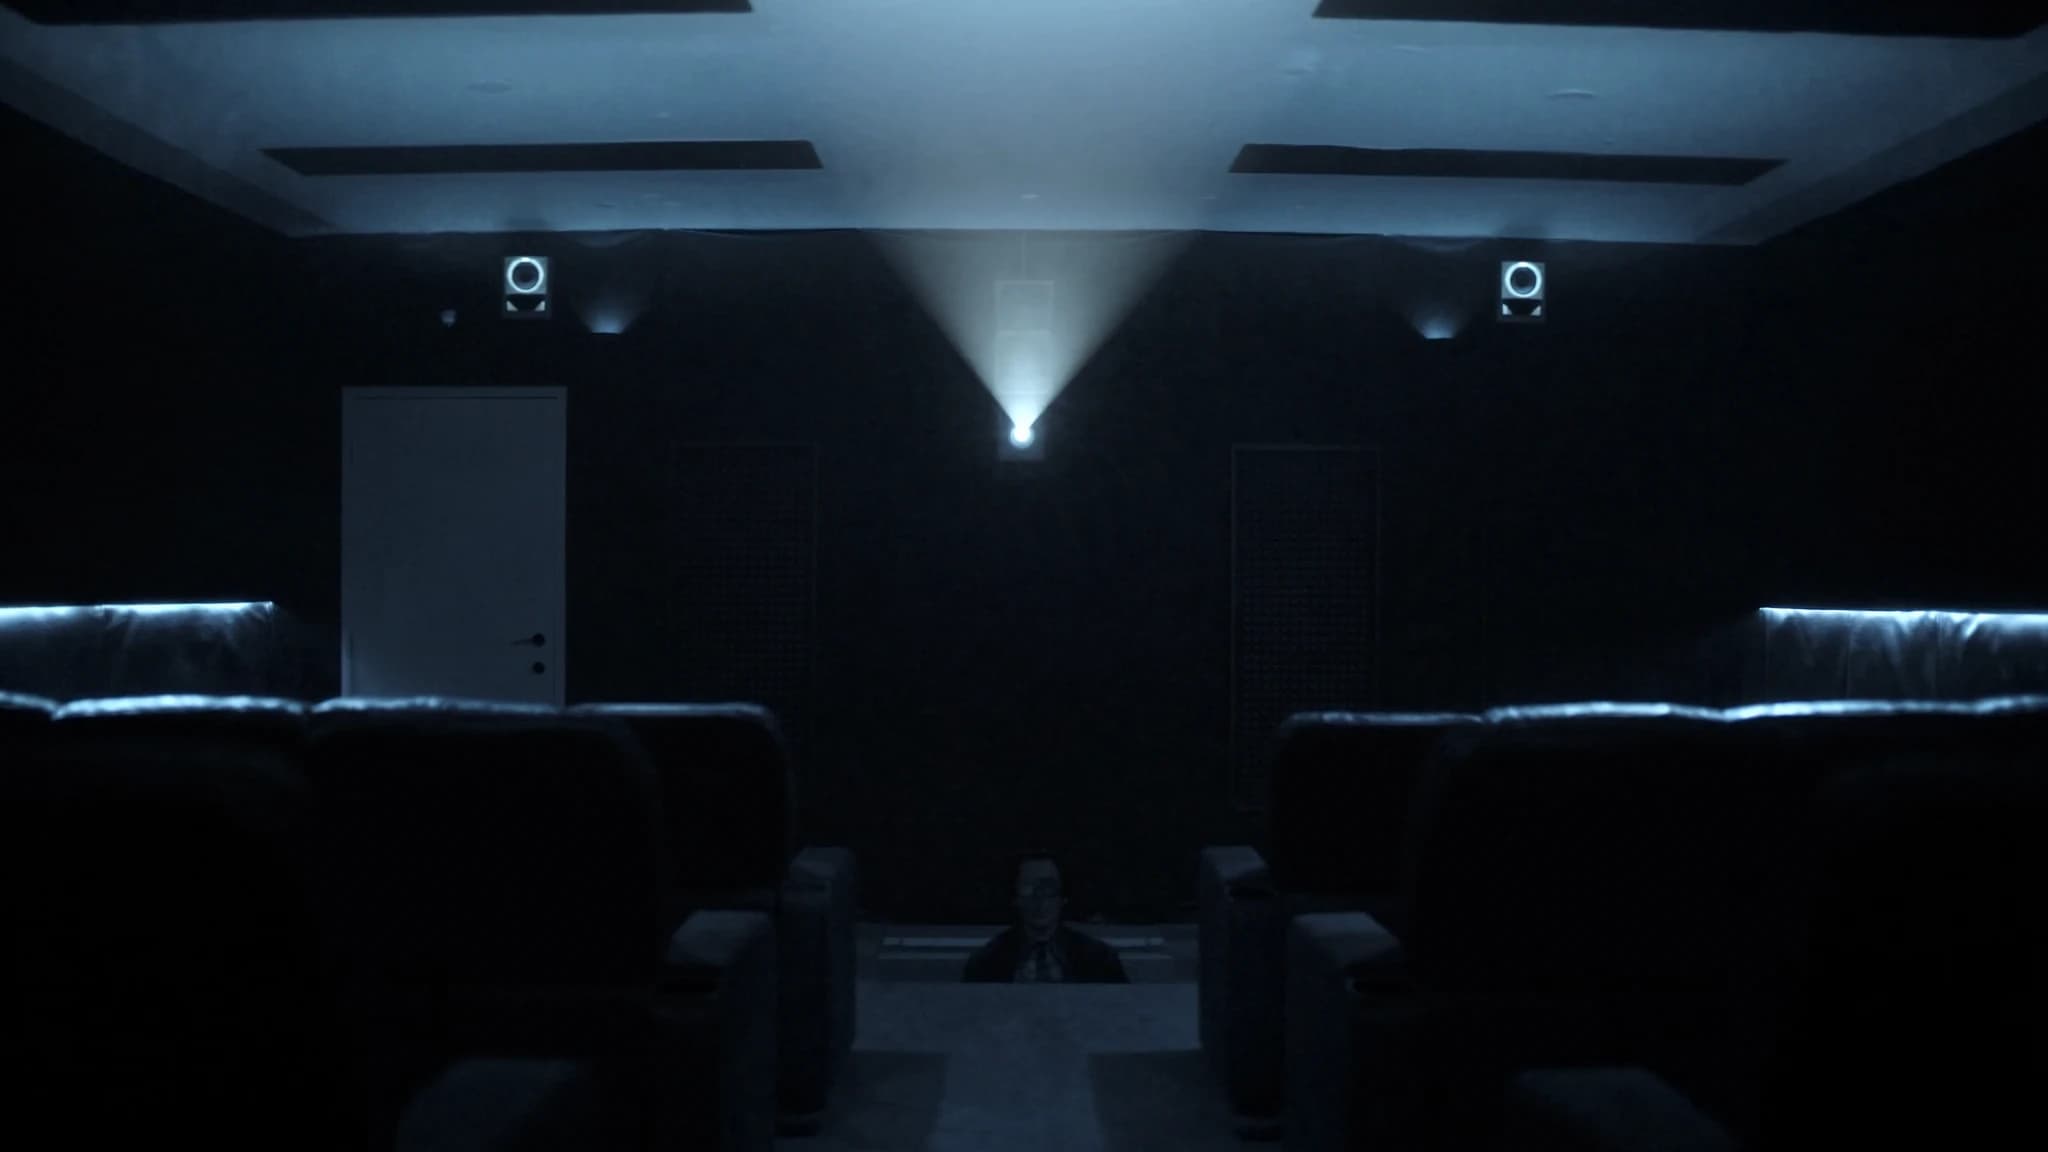
Dolby Atmosはハイトチャンネルを追加することでホームシアターを変革し、三次元のサウンドステージを創り出します。このガイドでは、ベッド層とハイト層、レイアウトオプション、スピーカー配置、キャリブレーションについて説明し、没入型のオブジェクトベースオーディオを実現するシステムの設計を支援します。
主なポイント
- Dolby Atmosは従来のサラウンドサウンドにハイト層を追加し、3Dオーディオ体験を創り出します。
- 部屋のサイズに基づいてレイアウトを選択:小さな部屋には5.1.2、大きな空間には5.1.4または7.1.4。
- 天井埋め込み型スピーカーは最高のハイト性能を提供し、上向き発音モジュールは便利な代替手段です。
- 正確な頭上効果を得るために、ハイトスピーカーを特定の角度(30~45度の仰角)に配置します。
- 綿密にキャリブレーション:スピーカーレベル、クロスオーバー、EQを設定して、ベッド層とハイト層をシームレスにブレンドします。
Dolby Atmosの理解:ベッド層とハイト層
Dolby Atmosは、従来のチャンネルベースのサラウンドサウンドに高さ情報を追加するオブジェクトベースのオーディオフォーマットです。このシステムは、ベッド層とハイト層の2つの層で構成されています。ベッド層は、従来のサラウンドチャンネル(左、センター、右、サラウンド左、サラウンド右、およびオプションでサラウンドバック左/右)で構成されます。これらのスピーカーはサウンドトラックの大部分を再生し、オーディオをスクリーンとリスナーの平面に固定します。
ハイト層は、リスニング位置の上方にスピーカーを追加して音のドームを創り出します。これらのスピーカーは、天井埋め込み型、天井に音を反射させる上向き発音モジュール、または壁の高い位置に設置することができます。ハイト層がAtmosに没入感を与える要素であり、雨、航空機、飛来する物体などの音が頭上を移動できるようにします。
ホームシアターでは、ベッド層は通常耳の高さ(着席時で約1.2メートルまたは4フィート)にあり、ハイト層は天井内または天井上にあります。これらの層の組み合わせと精密なキャリブレーションにより、シームレスな三次元サウンドフィールドが創り出されます。
スピーカーレイアウトの選択:5.1.2、5.1.4、7.1.4、そしてそれ以上
レイアウトの数字(例:5.1.2)は、ベッドスピーカー、サブウーファー、ハイトスピーカーの数を示します。5.1.2システムは、5つのベッドスピーカー(左、センター、右、サラウンド左、サラウンド右)、1つのサブウーファー、2つのハイトスピーカーを備えています。これはAtmosのエントリーポイントであり、小~中規模の部屋でうまく機能します。
5.1.4システムは、通常リスニング位置の前方と後方に配置される2つのハイトスピーカーを追加します。これにより、より精密な頭上パンニングが提供され、サイドサラウンドの配置が制限される部屋に理想的です。7.1.4システムは、ベッド層に2つのサラウンドバックスピーカーを追加し、より包囲感のある後方サウンドステージを創り出します。これは、リスニング位置が後壁から数フィート離れている大きな部屋に推奨されます。
専用のホームシアターでは、7.1.6または9.1.6レイアウトも可能で、より多くのハイトスピーカーとワイドスピーカーを追加します。ただし、レイアウトは部屋のサイズと座席配置によって決定されるべきです。小さな部屋では、スピーカーが多すぎると定位の問題や雑然さを引き起こす可能性があります。SSOUNDSのエンジニアは、ハイト層が追加のベッドチャンネルよりもAtmos体験に大きく貢献するため、5.1.4レイアウトから始めて、部屋が許せば拡張することをしばしば推奨しています。
天井埋め込み型 vs. 上向き発音モジュール:長所と短所
天井埋め込み型スピーカーは、Atmosハイトチャンネルのゴールドスタンダードです。直接的な精密な頭上サウンドを提供し、天井高や部屋の音響の影響を受けにくいです。設置が必要ですが、最高の性能と美的統合を提供します。天井がアクセス可能な部屋や建設中の場合、天井埋め込み型スピーカーが好ましい選択です。
上向き発音モジュールは、既存のベッドスピーカーの上に載せ、天井に音を反射させて頭上スピーカーをシミュレートします。設置が簡単で、天井に穴を開ける必要がないため、賃貸スペースや堅い天井の部屋に理想的です。ただし、その性能は天井の高さ、平坦さ、反射性に依存します。天井が2.4~3.6メートル(8~12フィート)で、滑らかで吸音性のない表面の部屋で最もよく機能します。
ハイブリッドアプローチも可能です。フロントハイトチャンネルに天井埋め込み型スピーカー、リアに上向き発音モジュール、またはその逆です。重要なのは、すべてのハイトスピーカー間で音色を一致させることです。SSOUNDSは、部屋に合わせて組み合わせ可能な天井埋め込み型と表面設置型のハイトスピーカーの両方を設計しています。
スピーカー配置角度:没入感の科学
Atmosには適切な配置が重要です。ベッド層は標準的なサラウンドガイドラインに従うべきです。左右のスピーカーはセンターから30度、センタースピーカーはスクリーンの真下または真上、サラウンドはリスニング位置から90~110度です。サラウンドバックスピーカーを使用する場合は、135~150度に配置します。
ハイトスピーカーは、リスナーに対して特定の角度で配置されます。5.1.2または5.1.4システムでは、フロントハイトスピーカーはリスニング位置から30~45度の仰角、リアハイトスピーカーは125~150度の方位角と30~45度の仰角に配置する必要があります。7.1.4システムでは、ハイトスピーカーは通常、フロント左/右とサラウンド左/右の位置の上方、45度の仰角に配置されます。
Dolbyは詳細なガイドラインを提供していますが、正確な角度は部屋の寸法と座席によって異なります。分度器またはレーザー角度計を使用して測定してください。SSOUNDSは高度な音響モデリングを使用してカバレッジを予測し、すべての座席がバランスの取れた没入型体験を得られるようにします。不明な場合は、プロの設置業者に相談するか、キャリブレーションソフトウェアを使用して微調整してください。
AVRとプロセッサーの選択:Atmosシステムの駆動
Atmosシステムを駆動するには、レイアウトに一致する少なくともチャンネル数のAVレシーバー(AVR)またはプリアンプ/プロセッサーが必要です。5.1.2システムには、7チャンネルAVRで十分です。5.1.4または7.1.4には、9または11チャンネルAVR、または別途プロセッサーとアンプが必要です。
Denon、Yamaha、Marantzなどのブランドは、Atmos対応AVRのラインナップを提供しています。DenonのXシリーズとMarantzのSRシリーズは、ルームコレクション(Audyssey)と複数サブウーファーのサポートで人気があります。YamahaのAVENTAGEラインはYPAOルームコレクションを特徴とし、しばしばより柔軟なアンプ割り当てを含みます。選択時には、チャンネルあたりの電力、HDMI入力数、最新のHDMI規格(例:8K用HDMI 2.1)のサポートを考慮してください。
大規模システムでは、別途プロセッサーとパワーアンプがより良いヘッドルームと柔軟性を提供します。SSOUNDSのアンプとDSPは、サードパーティのプロセッサーと統合して、クリーンでパワフルなサウンドを提供できます。AVRまたはプロセッサーが最新のAtmosバージョンをサポートし、選択したレイアウトに十分なチャンネルがあることを確認してください。
キャリブレーション:シームレスなAtmosの鍵
キャリブレーションは、ベッド層とハイト層をブレンドし、部屋の音響を補正するために不可欠です。AVRの自動キャリブレーションシステム(例:Audyssey、YPAO、Dirac Live)から始めます。これらのシステムはスピーカー距離、レベル、EQを測定しますが、完璧ではありません。SPLメーターと巻尺で結果を確認してください。
すべてのスピーカーを「スモール」に設定し、大型であっても低音をサブウーファーにルーティングして、歪みを減らしヘッドルームを改善します。スピーカーの能力に基づいてクロスオーバー周波数(通常80 Hz)を調整します。ハイトスピーカーについては、レベルがベッド層とバランスしていることを確認します。圧倒すべきではなく、明確に聞こえるべきです。
テストトーンとデモ素材を使用して、ベッドスピーカーとハイトスピーカー間のパンニングを確認します。Dolby Atmosデモディスクは非常に貴重です。REW(Room EQ Wizard)などの高度なキャリブレーションツールにアクセスできる場合は、応答を測定し、手動EQを適用します。SSOUNDSは、専用シアターにはプロのキャリブレーションを推奨しています。没入型体験を劇的に改善できるからです。
部屋の音響とスピーカーの選択
部屋の音響はAtmosの性能に大きな役割を果たします。反射と吸音はハイト層をぼやけさせ、頭上音の定位を難しくする可能性があります。天井と壁の一次反射点を吸音パネルで処理しますが、過度の吸音は避けてください。部屋が活気のない音になる可能性があります。
すべてのチャンネルで音色が一致したスピーカーを選択してください。理想的には、ベッドスピーカーとハイトスピーカーに同じブランドとシリーズを使用します。天井埋め込み型スピーカーは、リスニングエリアに音を向けるための指向性ツイーターを備えている必要があります。上向き発音モジュールは、平らで反射性のある表面に配置する必要があります。
SSOUNDSは、Atmos用に設計されたホームシアタースピーカーのラインナップを提供しており、当社のラインアレイおよびポイントソースシステムとシームレスに統合する天井埋め込み型および表面設置型モデルを含みます。当社のエンジニアは、お客様の部屋とレイアウトに適したスピーカーの選択を支援できます。
よくある質問
天井がヴォールトの場合、上向き発音モジュールは使用できますか?
上向き発音モジュールは、平らで反射性のある天井に音を反射させてリスニング位置に届けます。ヴォールト天井や凹凸の多い天井では音が拡散し、頭上効果が減少します。そのような場合は、天井埋め込み型または高所設置型スピーカーの方が適しています。
小さな部屋にはハイトスピーカーがいくつ必要ですか?
小さな部屋(20平方メートル未満)では、2つのハイトスピーカー(5.1.2)で十分な場合があります。ただし、4つのハイトスピーカー(5.1.4)はより精密な頭上パンニングを提供し、座席エリアが1列以上ある場合に推奨されます。改善は顕著なので、予算と部屋が許せば4つを選びましょう。
Atmosには別途アンプが必要ですか?
お使いのAVRによります。多くの中級機および高級機のAVRは、5.1.4または7.1.4に十分な内蔵チャンネルを備えています。より多くのチャンネル(例:7.1.6)が必要な場合は、別途マルチチャンネルアンプまたは外部アンプを備えたプリアンプ/プロセッサーが必要になることがあります。AVRのチャンネル数と電力定格を確認してください。
ハイトスピーカーはどのようにキャリブレーションしますか?
まずAVRの自動キャリブレーションから始め、SPLメーターで確認します。ハイトスピーカーのレベルは、ベッド層とブレンドするように設定し、圧倒しないようにします。テストトーンを使用してパンニングを確認し、距離とクロスオーバー設定を調整します。最良の結果を得るには、部屋測定ソフトウェアを使用したプロによるキャリブレーションを検討してください。
Atmosに理想的な天井高はどれくらいですか?
天井埋め込み型スピーカーの場合、天井高は2.4~3.6メートル(8~12フィート)が理想的です。上向き発音モジュールの場合、天井は平らで反射性があり、高さはモジュールの指定範囲内(通常2.4~3.6メートル)である必要があります。非常に高い天井では、十分な頭上サウンドを得るために天井埋め込み型スピーカーが必要になることがあります。
システムの構築やアップグレードをお考えですか?
SSOUNDSは、単一の部屋からスタジアム規模まで、プロ用PAを世界中で設計・製造しています。