In-Ceiling Surround Sound: 5.1.2 en 5.1.4 Uitgelegd
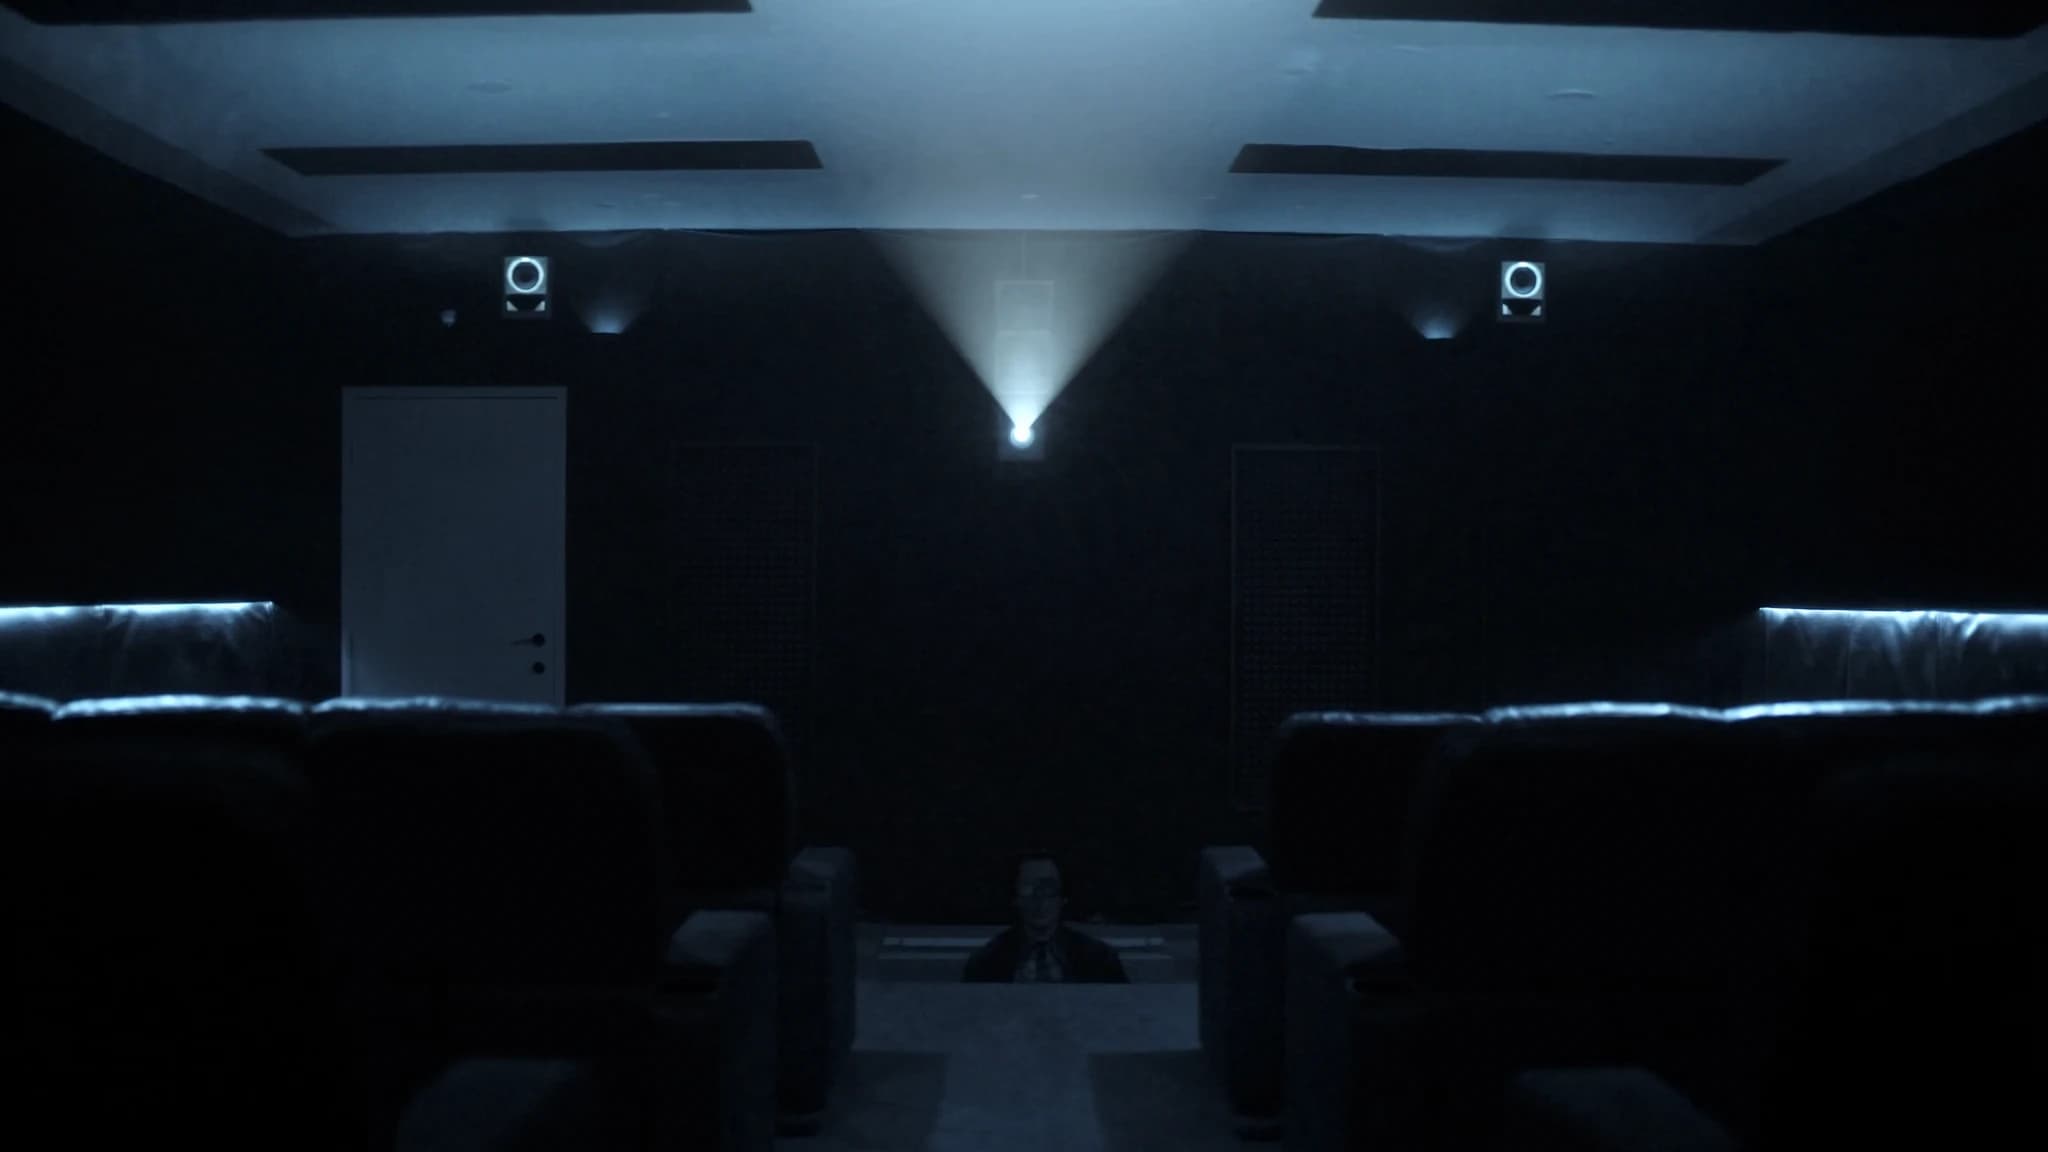
In-ceiling surround sound-opstellingen, met name 5.1.2- en 5.1.4-configuraties, transformeren home theaters door meeslepend Dolby Atmos-geluid te leveren zonder vloeroppervlak op te offeren. Deze gids legt de indelingen, luidsprekerplaatsing, driverkeuzes, backbox-vereisten, bedrading en integratietips uit om je te helpen een systeem van professionele kwaliteit te bouwen.
Belangrijkste punten
- 5.1.2 gebruikt twee plafondluidsprekers voor basis Atmos; 5.1.4 gebruikt er vier voor nauwkeurigere overhead-effecten.
- Plaats plafondluidsprekers boven de luisterpositie, gekanteld naar de luisteraar voor de beste immersie.
- Gekantelde drivers verbeteren de off-axis helderheid; vlakke drivers werken als de luisteraar zich er direct onder bevindt.
- Gebruik altijd gesloten backboxes om geluidslekkage en resonantie te voorkomen.
- Bekabel met 14-16 gauge kabel en voer automatische kalibratie uit na installatie.
- Kies plafondluidsprekers met brede dispersie en timbre-matched met je hoofdsysteem.
5.1.2- en 5.1.4-indelingen begrijpen
De cijfers in 5.1.2 en 5.1.4 verwijzen naar het kanaalaantal: het eerste cijfer staat voor traditionele surroundkanalen (links, midden, rechts, links surround, rechts surround), het tweede voor de subwoofer (.1) en het derde voor overhead-/hoogtekanalen. Bij 5.1.2 heb je twee plafondluidsprekers voor overhead-effecten; bij 5.1.4 heb je vier plafondluidsprekers, twee voorhoogtes en twee achterhoogtes, voor een nauwkeurigere objectgebaseerde audioplaatsing.
Dolby Atmos gebruikt deze hoogtekanalen om een driedimensionaal geluidsbeeld te creëren, waarbij geluiden zoals regen of helikopters naadloos boven je bewegen. De 5.1.2-indeling is een kosteneffectief instapmodel, terwijl 5.1.4 een meer omhullende ervaring biedt met betere verticale lokalisatie. Beide profiteren van in-ceiling luidsprekers die esthetisch in de ruimte opgaan.
Plaatsingsrichtlijnen voor in-ceiling luidsprekers
Plaats voor 5.1.2 de twee plafondluidsprekers direct boven de luisterpositie, iets voor het hoofd zitgedeelte, doorgaans tussen 65 en 100 graden vanaf de centrale luisteras. Ze moeten ongeveer de breedte van de kamer uit elkaar staan, recht naar beneden gericht of gekanteld naar de luisteraar. Vermijd plaatsing te dicht bij muren om vroege reflecties te voorkomen.
In een 5.1.4-opstelling gaan de voorhoogteluidsprekers boven de voorste linker- en rechterluidsprekers, gekanteld naar de luisteraar, terwijl de achterhoogtes achter het zitgedeelte worden geplaatst, uitgelijnd met de achterste surrounds. Dolby adviseert een elevatiehoek van 45 graden vanaf de luisteraar naar de plafondluidspreker. Gebruik een laserpointer of smartphone-app om exacte posities te markeren voordat je gaten zaagt.
Gekantelde vs. vlakke drivers: welke kiezen?
Gekantelde drivers (ook wel pivoterende tweeters genoemd) stellen je in staat hoge frequenties naar het luistergebied te richten, wat cruciaal is voor helderheid in Atmos-effecten. Vlakke drivers stralen geluid recht naar beneden uit, wat kan werken als de luisteraar zich er direct onder bevindt, maar gekantelde drivers bieden meer flexibiliteit voor off-axis zitplaatsen. Voor in-ceiling Atmos worden gekantelde drivers over het algemeen aanbevolen om ervoor te zorgen dat het overhead-geluidsbeeld gefocust en meeslepend is.
Sommige premium in-ceiling luidsprekers hebben dual-voice-coil woofers of coaxiale ontwerpen die een tweeter en woofer op dezelfde as combineren, wat de coherentie verbetert. SSOUNDS-engineers ontwerpen hun in-ceiling modellen met verstelbare tweeter-waveguides om de dekking te optimaliseren, wat zorgt voor consistente prestaties of je nu kiest voor gekantelde of vlakke installatie.
Het belang van backboxes
Backboxes (ingesloten behuizingen) zijn essentieel voor in-ceiling luidsprekers in een surround sound-systeem. Ze isoleren de luidspreker van de plafondholte, voorkomen dat geluid naar andere kamers lekt en verminderen resonantie. Zonder backbox fungeert het plafond als resonator, wat het geluid vertroebelt en faseproblemen veroorzaakt. Backboxes beschermen de luidspreker ook tegen stof en isolatie.
Voor Atmos hebben gesloten backboxes de voorkeur omdat ze een gecontroleerd luchtvolume bieden, wat de basrespons en transiëntnauwkeurigheid verbetert. Sommige backboxes zijn voorbedraad met terminal cups voor eenvoudige aansluiting. Kies altijd een backbox die past bij de diepte en uitsparingsgrootte van de luidspreker. SSOUNDS biedt aangepaste backboxes die zijn ontworpen voor hun in-ceiling modellen om optimale akoestische prestaties te garanderen.
Bedrading en integratie met het hoofdsysteem
Leid 14- of 16-gauge luidsprekerdraad van de versterker naar elke plafondluidspreker. Voor 5.1.2 heb je twee kanalen versterking nodig voor de hoogtes; voor 5.1.4 vier kanalen. De meeste moderne AV-receivers hebben speciale hoogtekanaaluitgangen (gelabeld als 'Atmos' of 'Height'). Als je receiver niet genoeg kanalen heeft, gebruik dan een externe versterker met pre-outs.
De polariteit van de bedrading moet consistent zijn: verbind de positieve terminal op de receiver met de positieve op de luidspreker. Gebruik banaanstekkers of vorkconnectoren voor veilige verbindingen. Voer na installatie de automatische kalibratie van de receiver uit (bijv. Audyssey, Dirac) om afstanden, niveaus en crossover-punten in te stellen. Stel plafondluidsprekers doorgaans in op 'small' met een crossover van 80–100 Hz om bas naar de subwoofer te leiden.
De juiste in-ceiling luidsprekers kiezen
Zoek naar luidsprekers met een brede dispersie (minimaal 90 graden) om het luistergebied gelijkmatig te dekken. Een frequentierespons die zich uitstrekt tot 20 kHz zorgt voor heldere hoge tonen voor Atmos-effecten. Een gevoeligheid boven 87 dB is wenselijk voor efficiënt gebruik van versterkervermogen. Overweeg voor een naadloze timbre-match hetzelfde merk te gebruiken voor alle luidsprekers, inclusief het hoofdsysteem.
SSOUNDS in-ceiling luidsprekers zijn ontworpen met high-excursion woofers en silk-dome tweeters, die het dynamische bereik leveren dat nodig is voor cinematische overhead-effecten. Hun low-profile grilles zijn eenvoudig over te schilderen, waardoor ze vrijwel onzichtbaar zijn. Voor professionele installaties biedt SSOUNDS ook pre-construction brackets en brandwerende backboxes.
Veelgestelde vragen
Kan ik gewone boekenplankluidsprekers gebruiken voor Atmos in plaats van in-ceiling?
Ja, je kunt boekenplankluidsprekers aan muren of op stands nabij het plafond monteren, maar in-ceiling luidsprekers zijn discreter en zorgen voor een strakkere esthetiek. In-ceiling modellen zijn bovendien ontworpen om geluid naar beneden uit te stralen, wat ideaal is voor overhead-effecten.
Heb ik een speciale versterker nodig voor in-ceiling Atmos-luidsprekers?
De meeste moderne AV-receivers met Dolby Atmos-verwerking hebben speciale hoogtekanalen. Als je receiver niet genoeg kanalen heeft, kun je een externe meerkanaalsversterker toevoegen die via pre-outs is aangesloten.
Wat is de ideale plafondhoogte voor in-ceiling Atmos?
Dolby adviseert plafondhoogtes tussen 7,5 en 12 voet. Hogere plafonds kunnen luidsprekers met verstelbare kantelbare drivers vereisen om het geluid op het luistergebied te richten.
Kan ik verschillende merken mengen voor plafond- en hoofdluidsprekers?
Het is mogelijk, maar voor de beste tonale consistentie gebruik je luidsprekers van hetzelfde merk of dezelfde serie. Een niet-overeenkomende timbre kan ervoor zorgen dat geluiden onsamenhangend lijken wanneer ze over de kanalen pannen.
Hoe verberg ik de draden voor in-ceiling luidsprekers?
Leid draden door de zolder of kruipruimte boven het plafond. Gebruik CL2- of CL3-gecertificeerde draad voor brandveiligheid. Voor nieuwbouw installeer je luidsprekerdraad voordat het gipsplaat wordt aangebracht. Bij renovatie kun je draadgoten of trekveer gebruiken.
Een systeem bouwen of upgraden?
SSOUNDS ontwerpt en produceert professionele PA wereldwijd, van een enkele ruimte tot stadionformaat.